These are the materials I have added to my hotel. The
glass below I added a
DGS material as the diffuse colour and glass
lume to the
reflection.

For the metal bars I created a metal material, specular level 100, glass level 70, reflection
raytrace. This gives the bars a very realistic finish, rather than chrome which would have been too reflective.

For the concrete I used a preset concrete material in the material library, I just changed the self-illumination colour to a dark brown
instead of grey. The outcome of this is a very close match to the actual building.
 For the metal bars I created a metal material, specular level 100, glass level 70, reflection raytrace. This gives the bars a very realistic finish, rather than chrome which would have been too reflective.
 For the concrete I used a preset concrete material in the material library, I just changed the self-illumination colour to a dark brown instead of grey. The outcome of this is a very close match to the actual building.

 For the ESO hotel I am going to use photographs as my reference drawings and guess the dimensions from what I can see. This model should be fairly straight forward as all the parts are blocks but I will take extra care to make it as accurate to the actual building as possible. I have started by drawing one block and aligning them. I will then clone them.


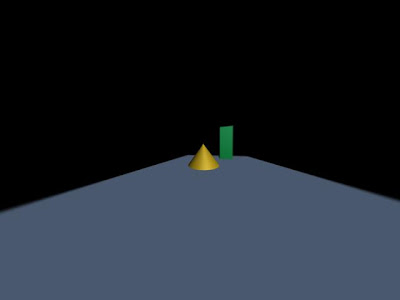 The below view shows the target on the blue rectangle and depth of field enabled. I used orbit to rotate the camera and the objects closest to the camera are out of focus.
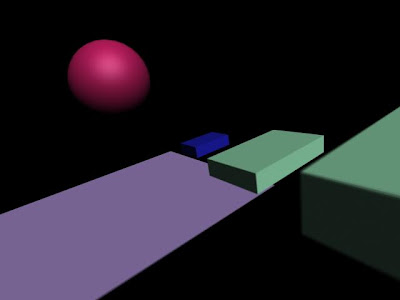 In this view I made the sphere the target and used a zoom lens. In this the objects in the background are out of focus.

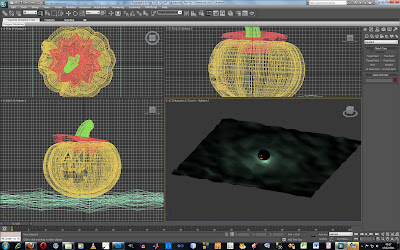 After that we set up a target spot light and adjusted the hotspot and falloff parameters to make a softer light. Then to create a smoky effect we modified the atmosphere and effects by adding a volume light.
  Following on from the tutorial we worked through 3ds max tutorial for daylight system for beginners. In this we were shown how to apply architectural settings to objects and set up realistic day light settings for scenes.


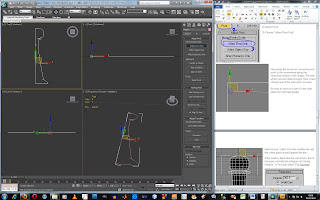
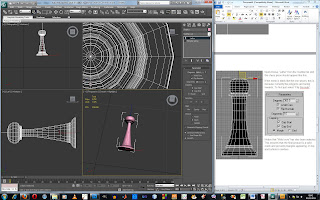
 To create this shape I used the Loft tool after creating the helix shape and the shape for the cross section.
 For the tank I created two planes, and adjusted them to be level with each other. Then improted the images and using UV map aligned both images with eachother. From these references I was able to create the tank.

